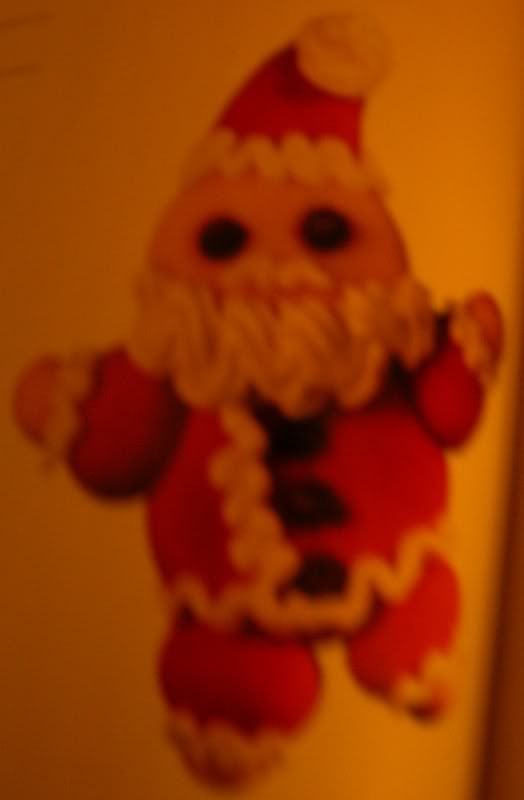
The recipe I'm about to share is from my 1992 Better Homes & Gardens cookbook called Cookies, Cookies, Cookies .
Forgive me, the picture I'm about to share is not so great. I took a picture of the picture in my cookbook. I'll actually be making these cookies again tomorrow and I'll take a picture of my baked cookies and re-post it here tomorrow.
Note: Pictures have been added to my Saturday post so stop by and take a peek.
Ingredients
- 1 cup butter
- 1/2 cup sugar
- 1 Tbsp milk
- 1 tsp vanilla
- 2 1/4 cups all-purpose flour
- red paste food coloring (you can get this at Michael's)
- mini semi-sweet chocolate chips
- white frosting
Preparation
- Mix butter on medium to high speed on your mixer for about 30 seconds or until softened. Add sugar, beat until fluffy. Beat in milk and vanilla. Add flour and beat until well combined.
- Remove 1 cup of dough and set aside.
- Stir red paste food coloring into remaining dough until desired color is attained.
- Shape each Santa by making one 3/4-inch ball and four 1/4-inch balls from the white dough.
- From the red dough, shape one 1-inch ball and five 1/2-inch balls.
- On an ungreased cookie sheet flatten the 1-inch red ball for body to 1/2-inch thickness. Attach white 3/4-inch ball for head; flatten to 1/2 inch. Attach four 1/2-inch red balls for arms and legs. Shape remaining 1/2-inch balls at the ends of arms and legs for hands and feet. Use chocolate pieces for eyes and buttons.
- Bake in a 325 degree oven for 12-15 minutes or until edges are lightly browned. Cool 2 minutes on cookie sheets. Remove and cool on wire racks.
- With decorating bag fitted with a plain tip, use your white frosting to pipe a mustache, a band of icing on hat, cuffs at hands and feet, down the front, and at the bottom of jacket. Use a star tip to pipe beard and pom-pom on hate.
- Makes 12.
Fear not, I'll take pictures along the way as I make these tomorrow and I'll come back to this post and upload them so that if you're really interested in making these, you'll have a clearer idea on what the instructions mean. These cookies are really cute and they make great gifts for the holidays!
I look forward to seeing your Favorite Ingredients Friday recipe! Don't forget to link your specific recipe post link on Mr. Linky so I can see what's cooking at your house!
Oh, and be sure to put the title of your recipe in parenthesis! It makes it so much quicker for me to go back and search for recipes as I build my weekly menu.
My previous Favorite Ingredients Friday recipes
Cole's chili
Grandma's Sponge Cake
Parmesan Bow-Tie Skillet
Scalloped Potatoes
Chocolate Crepes
Chocolate Cream Pie
Chocolate Chip Banana Bread
Caramel Brownies
Peach Banana Daiquiri
Thanks so much for your participation. I do appreciate it!
Labels: baked goodies, Favorite Ingredients Friday, recipe exchange





















9 Comments:
Those cookies look cute and yummy! I can't wait to see the after pictures. Mine is up and up early so I can get ready for BooMama's tour. I'm skipping Fridays Feast today, but wouldn't miss Favorite Ingredient Friday:) Have a great weekend!
Those do look yummy. I can't wait to someday make cookies with my child, too.
what cute looking cookies! I bet this is something Kayla would have fun making and decorating!
It's seems delicious and funny to make. My kids would love to make the decorating part.:)
I am back :)
Sounds yummy! I'm making cookies this weekend for my husband to take into work and I'll add this one to the list! Thanks!
I have a gene in my body for cookies!!
Thanks for the food coloring tip. No matter how much of the bottled stuff I use, it still seems to turn out hot pink.
Cookies look yummy.
Merry Christmas if I don't get back here before then.
These sound delicious & I just checked out the other post with the pictures and I think they're so cute! I can't wait to make some =) Thanks for sharing the recipe, I'm sad I wasn't able to participate last Friday!
Post a Comment
<< Home